This blog post is a quick demo on how to integrate Visual studio with an existing code repository on Bitbucket.
There are so many blogs that explain Git and Bitbucket in great detail. You may follow the below resources to get basic understanding of Git and how Bitbucket uses Git.
This post assumes that you have the following prerequisites:
- Bitbucket account with appropriate credentials. If you do not have one Sign Up Here
- Visual Studio 2013 or higher installed.
Let’s get started!
What is Git?
“Git is a free and open source distributed version control system designed to handle everything from small to very large projects with speed and efficiency.”
Once you install Git, you will be able to create a local repository, commit your changes locally and then push to the cloud or origin.
Installing Git is easy and this post will cover this for you.
What is Bitbucket?
Bitbucket is a cloud-based flavor of Git for professional teams. This is how it works – when you add/modify files in your local computer, changes are committed to local repository (i.e. Git repository) and then synced Bitbucket. You will know more when you read through this blog post.
Git is the underlying engine that does all the heavy lifting and Bitbucket is just a wrapper that leverages Git.
Following are the key steps to integrate Visual Studio with Bitbucket.
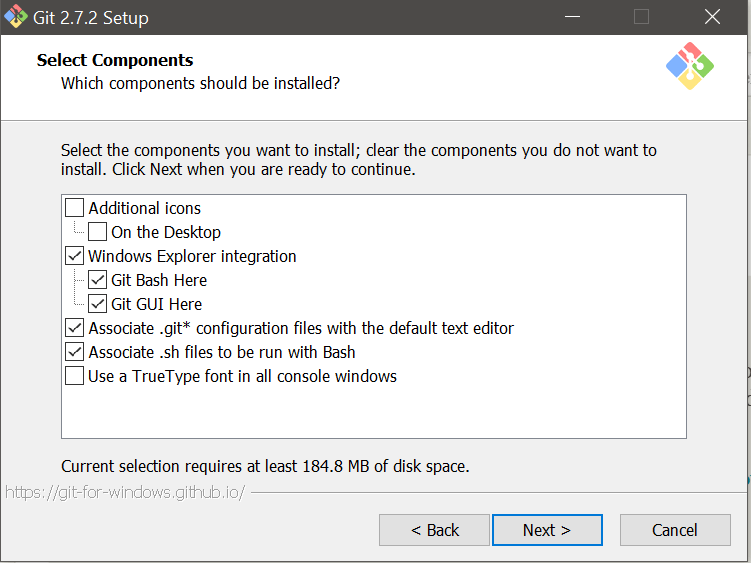
Step 1: Install Git. (Link to download)
Please follow the steps and install Git.


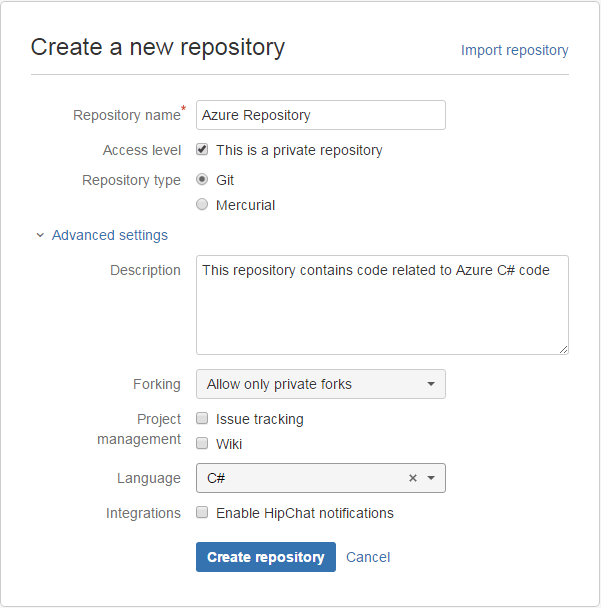
Step 2: Create Code Repository in Bitbucket.
Please follow the steps and create Bitbucket Repository.

Once the repository is created, navigate to the ‘Overview’ section within the repository.
Copy and save the highlighted URL, you will need this later.

Note:
You should see the following only if you are working with an existing repository.
If you followed this blog post and created a new repository you will not see the following.

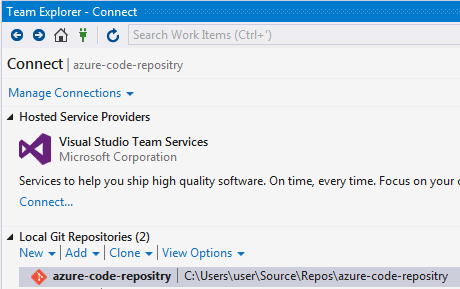
Step 3: Use Visual Studio to create a local Git Repository.
a. Navigate to the ‘Team Explorer’ within visual studio.
- Click ‘Clone’ option under Local Git Repositories.
- Provide the URL that you saved in the previous steps in the first text field.
- Give the path to the local folder where you want the Git repository to be created in the second text field.

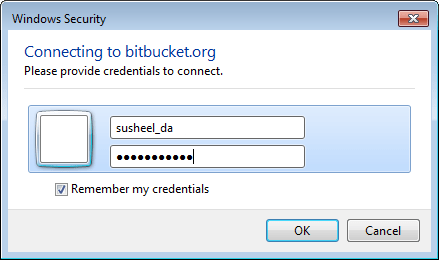
b. Enter the user name and password for the Bitbucket account.
C. Check if the repository is created in the Visual Studio and local File System.
Visual Studio:
Local File System:
A hidden folder ‘.git’ will be created (Check your ‘Folder Options’ to see ‘hidden Items’)
This indicates that the folder is being watched and tracked by Git.

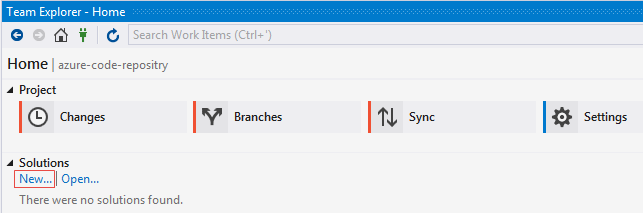
Step 4: Add a new project to the Git Repository.
Important!: When you create a new project, make sure you are creating using ‘New’ under Git Repository.
Double click on the Git Repository name and you should see the following.
DO NOT create the project from the New option with in ‘File’ menu in the visual studio.
You can re-associate with the Git repository later, but this is the cleanest and the easiest way of doing it.
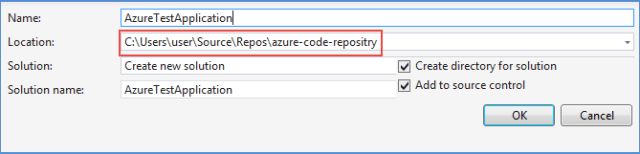
Give appropriate name to the project and make sure your project location matches the Git Repository location.
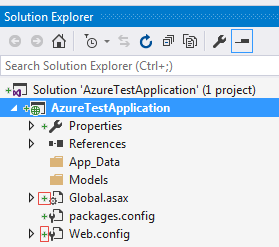
If you notice clearly, you will find a ‘Plus’ icon next to the files, indicating that it is under version control.
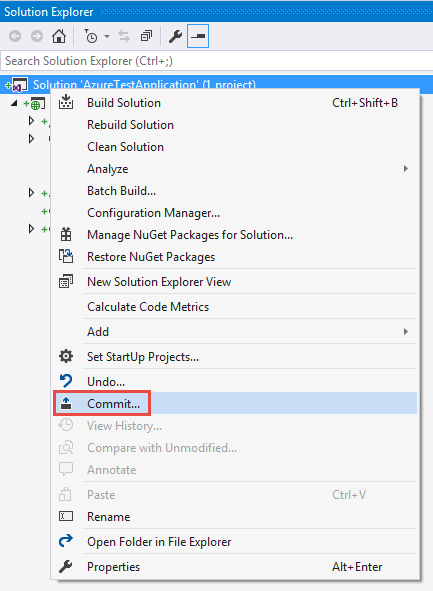
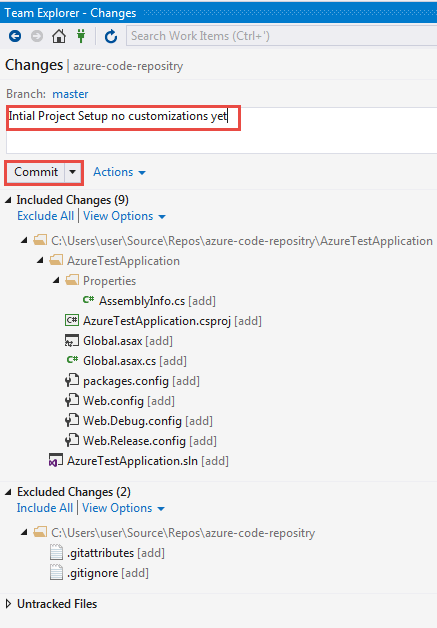
Step 5: Commit and sync the project to Bitbucket.
Right click on the Solution name and hit commit. Remember, this is only committing to local Git Repository!
Give appropriate comments. You are still committing to local Git repository.
Hit ‘Sync’ . This will push the changes to the outgoing commits. You are still syncing to local Git repository.

Push the changes to Bitbucket using ‘Push’ option under Outgoing Commits. THIS PUSHES TO Bitbucket!

Check if you can find the newly created project in the Bitbucket.

Congratulations on our first integration with Cloud Hosted Version Control Management System.
Happy Coding!